Problem is I'm struggling to find anything similar that is available in the UK - hence why I've seen people in this thread using either paste or 0.5mm thermal pads to get an idea of the pressure variance. I will keep looking though!
Also, once I identify the imbalance (using pressure paper or otherwise), what are my options of rebalancing? Does it just come down to trying different thermal pad heights? I know some have used heat guns and bent the heat sink to gain the best balance but I'm really not at that level. Plus I don't know how bad my HS is since the LM worked well for a year and minimal core differential (within 2deg).
-
Yes, using paste is a good idea. You need a non runny paste. something thick. Like Phobya nanogrease extreme.
A good thing to do is to apply a very small dot in the very center of the BGA CPU. Smaller than rice sized grain. Then apply the heatsink. Try to make sure you do not tilt it. And then do very small turns of the screws, in criss cross pattern (this is hard with tripod >_>). Then after fully screwed down, then remove it (still partial turns) and then pull the heatsink directly off.
Then try to look at the spread pattern.
If the paste collected more to one side than the other side (Example: thicker and bunched up above top, thin and compressed at bottom), then its clear there is less pressure at top than at bottom. Because you want an even spread.
With pads it is trickier because while the pads can clearly show a larger imprint on one side vs the other side, showing more vs less pressure, the problem is that the pad may form back into its natural shape unless the pressure is very high on the pad itself. Need the right pads for this, and I never used pads before to test pressure.Papusan likes this. -
0.5mm is too thick for the cpu vrm section.
-
Do you think kryonaut would work or not thick enough?
Sent from my SM-G925I using Tapatalk -
It will dry and or pump out. Ic diamond 7 is maybe thick enough at most. But i would try laird gap filler cooling putty or acquiring 0.1mm thermal pads and or buy the heatsink with those installed. I tried 0.5mm pads as a test. Gelid pads, made them as thin possible but it still wasnt good.
-
Sorry I think I misunderstood, I was referring to using 0.5mm pads to test heatsink balance instead of pressure paper as I can't source any of that here. Not to actually replace anything with.
Sent from my SM-G925I using Tapatalk -
Hmm i think thats not a suitable method for measuring the pressure. The pressure uenveness is a lot small than 0.5mm . So it would appear like the pressure is good on a 0.5mm pad. But if core 0 and core 2 are the high temperature cores you can be sure than you dont have enough rpessure from the top CPU arm. If it is core 0 and 1 that more hot than the rest, its too thick GPU side thermal pads.
-
Hi, in my last re-pad with only Gelid pads I used 0.5 mm on processor side without compressing them. Used all 1 mm Gelids for GPU, also no compression. I put pads on components, not heat-sink. There was definitely no good die contact, at least not initially. Bent all heat-sink arms to stay upwards by 3 mm to get more pressure. Used liquid metal for dies and heat-sink and put more than normal and painted a bit larger 3 mm area on heat-sink part so LM stays around and 'available'.
After I turned my laptop on, I had 12C core differencials, of course core 0 and 2 were up. I turned on AIDA64 fpu and gpu stress, cancelled all undervolts to get more heat. Went to sleep for 6 hours, woke up and good news were waiting. My instinct tells me that this heat-stress must happen as soon as possible after re-assembly as I believe the bent heat-sink arms will press most and enough first 24 hours plus the heat will self-adjust Gelids.
Result:
Gelids need time and heat and pressure to settle. I have no core differencials at all. Heat-sink has been gradually going down first week because Liquid metal does not dry up so fast even if there surely was 0.2 mm die vs heat-sink gap initially. Now my dies have 100% contact because both cpu and gpu temperatures are not exceeding 65-70c in-game (with high undervolt).
I re-opened to check pad contact after 3 weeks, please see my pictures. Some of the pads show 'gaps' but in reality they just hang over components as they were pushed out by pressure and heat. I used strong light to see, each pad has super contact. Please note especially on memory (the coldest part to cool) heat-sink in immersed perfectly.
@rinneh You are right about Gelids not getting torn apart on heatsink removal if the laptop is completely cooled down to max. 15- 20C. This is very important info from you.Attached Files:
Last edited: Sep 2, 2018shashank066, propeldragon and rinneh like this. -
-
Yeah i think in your case it worked because the top arm of the aw13r3 is a bit thicker and stronger. On mine it didnt gave good results unfortunately. But on all other spots these pads where the best out of 3 tested.c69k likes this.
-
@rinneh I know a way to do this with Gelid pads which I tried and it 100% worked. I read some people on Alienware forums are tearing their laptops apart few times in a row, spending time and money to get temperatures on processor cores even. So I better write this as it simply w.o.r.k.s.
0.5 mm Gelid pads on processor side do the job good for me. (Original DELL pads on Alienware 13 r3 are 0.2 mm, elastic and no matter what I did they keep heat-sink above cores 0 and 2 too high=without contact)
I launched (without any undervolt) AIda64 fpu and gpu(s) for half hour for processor VRMs, heat-sink and pads to heat-up to maximum temperature possible.
While AIDA64 is still running, open the back of laptop and push down heat-sink through a piece of thick paper (!!HOT!!) above CPU to get Gelid pads a bit flattened. Doing this, core differencials should go away on any Alienware laptop if they are caused by processor pads bad fit.
I have done it this way once in the past and it worked. On disassembly both Gelid pads above processor broke=there was still/good contact so they went from 0.5 mm to correct 'as needed' thickness. I think this is only possible with Gelid pads as they are not spongy & spring-like elastic=they do not push the heat-sink back up. There is no LM or other thermal paste pump-out as you basically (very slowly) make CPU contact with heat-sink better or even perfect.
I think it is important to push down in very small pressure steps and directly checking the hot cores 0 and 2 getting even with other cores in AIDA64, or even better with Throttlestop readout. The single heat-sink arm above processor will make sure that there is still enough pressure for pads to stay in contact with heat-sink, just be careful not to push on heat-sink directly on point above processor, only exactly above thermal pads.Last edited: Aug 22, 2018Vasudev likes this. -
Hi guys, this is my first post in this Forum, im from Perú, then my english is not good enough or very bad 8/
Well, im going direct to the point, i bought an AW with i7 7820HK and GTX 1080, my cpu temps are very normal, max 50 gaming in @41 MHZ for example overwatch in full HD in HIGH graphics settings with vsync, but the problem is with the GPU, 90 in the same game and i have some lag spikes, freezing images but no BSOD or pc reset, also i have some lag spikes or freezing images (thermal throttling?) playing quake champions too.
But is strange because i play dota 2 in QHD in the max graphic settings and no GPU overheat or problems, the same in Mortal Kombat XL, in diablo 3 in QHD yesterday i got 90°C with no lag spikes or thermal throttling, but i understand is an old game.
Also i tried to use the MSI afterburner and play with the voltage, scoring better results in some games, but my worry is about overwatch, i got an AW with GTX 970 in the past and 0 problems.
What i have to do?
Repaste is not an option in my country because there are not people that do this, also i talked with the dell support and they told me that 90 °C is a normal temperature.
Thanks for your time.
Cheers from Perú -
You are sure it is your GPU? that would suggest that your GPU isnt making proper contact. a repad and repaste is needed in that case
-
Repasted my laptop a few weeks ago and documented some pictures here:
https://imgur.com/a/3Hh9DTX
1st attempt worked out well but I was scared of the liquid metal oozing out so I opened her up again and used some of the old thermal pads make a barrier wall.
Then my machine wouldn't boot. Eventually found out that i removed too much liquid metal that the CPU/Heatsink wasn't making contact so definitely there is an amount of liquid metal you need to keep on still.c69k likes this. -
Good job and nice pics
") As for the LM, yes there is that "just the right amount," that still needs to be on there and the tipping point of too much and too little is a fine line.
As for the LM, yes there is that "just the right amount," that still needs to be on there and the tipping point of too much and too little is a fine line.
Would you be able to post some screen shots with hwinfo64 open showing the CPU/GPU info + run a FireStrike Loop for at least 30mins / 1 Hour preferred....*see pic attached for the custom settings in 3DMark*
Thanks!Attached Files:
-
-
The barrier on your chip die is pushing your heatsink too high, the amount of LM that you need is waaaaaay too much. Thats why you see it spill over. Next to that it might give good temps now until it shoots out from moving the laptop too much, it will also dry up over time with such a gap.
The laptop not booting up is not due to too little paste, it would jsut run too hot and thermal throttle. But something else caused the laptop not turn on.Papusan likes this. -
Yup indeed... I forgot to comment on the barrier... Oooff. As you know I've been saying for years to not mess with doing that as having the right amount LM will stay put just fine. The barrier does more harm than good in so many ways... I'll leave it at that.
-
What about using soft foam instead of thermal pad as a barrier that a couple people had done? Do you still think this is risky?
Sent from my SM-G925I using Tapatalk -
May I ask please what make are the thermal pads you used on VRMs and memory?
-
It is with the amount of LM you are using
-
Sure! @Mr. Fox @Phoenix @Falkentyne @jclausius +++
“All too much” Almost as the Cpu swimming in Liquid metal.
Last edited: Aug 27, 2018shashank066, rinneh and propeldragon like this. -
-
It's optional and keep in mind that the application is more suited for IHS on lga machines that have contact issues to begin with so it's a different animal. - oppose to a small surface area of a bare die.Starting your troll fest again? Sure what? I was complimenting him on his attempt of working on his own system, which is good.
Sent from my SM-N950U using TapatalkJedi2155 likes this. -
Thanks for the support @iunlock! I know very much this was a hack job, and far from being presentable, but I just wanted to get the details out there and interested in the feedback. The fact that I did this over a month and half ago and finally got around to posting this lol....
A few notes as to why I put the barrier:
- The laptop is commonly in my car where "occasionally" it is exposed to extreme heat (60 C) vertically for a few hours at a time.
- I usually use the laptop to play for about 30-45 minutes after work to wait for traffic to die down before going home. This means a super hot CPU/GPU that gets shoved right into a laptop backpack and walk an 1/8 of a mile.
- I'm not confident that liquid metal will stay put when there is so much residual heat in such a scenario, then being placed vertically, and then add significant vibrations from walking (including the bumps for an hour long drive).
- I almost never use my laptop at home because I have a desktop rig.
System Background:
- I've had this machine since June 2017 as an RMA replacement since the original system had significant thermal issues and LCD displayed whitelines associated with an early 120 Hz display.
- CPU has been voltage limited using ThrottleStop (~110 mV reduction) which has been sufficient to reduce temperatures except for long term gaming sessions.
- My results below are not scientific or repeatable so take it with a grain of salt. I'll do the suggested 3DMark benchmark for repeatability when I get a chance.
- I ran a game (World of Warships) with the FPS limiter removed as a load test for about 2-3 hours.
- Stock w/o TS: ~90C after 30 minutes
- Stock w/ TS: ~80C after 30 minutes
- Stock w/ TS: ~90C after 3 hours
- I used grizzly conducnaut and the suggested Fujipoly TIM pads as suggested by iUnlocks original post.
- 1st attempt I did not use a barrier, and it looked much better than the picture you saw where there was overflow. The overflow is what happened after I removed the HSF Assembly to check my work after using it for a day. It confirmed one of my fears about too much LM potentially splashing around (I did not move my laptop at all to think about the implications of movement).
- The crappy barrier was me using what materials I had lying around and just get my system usable again. Some have suggested a compressible foam barrier that you can cut yourself. I was very concerned about the the relative height of the CPU die to the TIM material I was using as a barrier but did not find that to be an issue in all the camera angles.
- In terms of performance and LM material, I still think I was a little light on it the 2nd time around as temperatures definitely do not feel as low as the first time but it could also be a product of the environment. I would have to do controlled testing which I don't have enough time time to do, but I can do some limited testing.
- Results with the pads based on recent experience (I usually run HWInfo in the background while gaming to keep monitoring system performance)
- 1st attempt w/o barrier: 2 hour WoWS session ~ 70-75C (24C ambient), open air no restriction, quartz countertop.
- 2nd attempt with barrier + 30 days: 2 hour WoWS session ~80-85C (27 C ambient), restrictive airflow on table, plastic/wood countertop.
-
@Jedi2155
I used LM and Fujipoly (Alphacool) 17WM/k and was not very impressed with resulting temperatures. Luckily they broke on first disassembly and I bought Gelid pads and since then I know how to make any laptop to have good die and VRM/memory contact.
If I were you I would use 3-4 layers of nail color instead of the black tape. In my opinion the protection from LM is better this way as the LM can not slip under the tape and you do not have to change the tape on every re-paste. Regarding proper contact with dies which is highly depending on thermal pads used, their softness and thickness and material used, if you ever get rid of Fujipoly, try Gelid pads, they are 100% suitable for laptops as they still continue forming and shaping around components (they do flatten and only one way, and do not bounce back=no pump out) after assembly by heat and a bit pressure from a bit bent-up heat-sink arms.(by 3-4 mm)
What I found most important is that if you heat-up the laptop with AIDA 64 fpu and GPU(s) = highest power draw, no undervolt, during first 24 hours at least for 6 hours to achieve maximum temperatures, Gelids will flatten automatically and heat-sink will get progressively PROPER contact with dies. I believe that the tension of heat-sink arms is strongest right after re-pad.
I do not take my laptop out to the street, but If I had to, I would definitely go the foam dam way. I would try to find the most suitable foam at home and throw a piece of it to electric OVEN heated-up to 100C, and see.
I learned the above by trying hard and it paid. After undervolt, In Aida 64 fpu +GPU (s) I get 80C max on CPU and 76C on GPU (10 minutes). In any games, maximums are on both 10C lower. (room temp 25C)
In my laptop only Gelids finally got rid of CPU core temp. differences.
I liked what you wrote and I hope my results of trying will add something to it. I finally do not have to re-open my machine on monthly basis to try to lower temperatures or making sure all components are properly cooled.Last edited: Aug 27, 2018Vistar Shook, Vasudev and iunlock like this. -
Great stuff. It may take a few times to get used to gauging the amount of LM. The thing about the use of barriers is not in my play book just due to the philosophy of making sure it's done correct, to prevent any aftermaths. From all the systems I've worked on, using the right amount has always been key over using too much. LM shouldn't be applied to the point where it becomes a Terminator pool.
I've written an extensive blurp about this a while back, but in short the focus should always be going into it from a standpoint of doing it right over taking an extra step to compensate for putting too much. I have all my laptops LM'ed, including my MBP's, XPS, AW's etc... and I travel with them frequently. Through out the years I've taken them apart again to examine the LM and it all stayed put just fine due to using the right amount. As you've experienced the thermal pads are often the culprit so addressing those will allow you to use less LM, since the heat plate and die(s) would have have better contact, thus requiring less LM.
Keep at it! You got this.
-
Well said and I agree. I only use fujipoly in certain applications, but yea arctic's are great and much more forgiving. The rating of the thermal pads are also more than adequate and it does a fine job.
c69k likes this.
-
I did liquid metal on 15R4 with i9-8950HK and 1080 Max-Q. No thermal pads were changed. Core 0 and core 1 are thermal throttling. It's still much better than stock thermal paste. There is no stuttering in games or any other application.
I applied Conductonaut twice. On the first attempt I didn't applied enough on the heatsink. Opened it up and applied more liquid metal again. Laptop is just 1.5 months old.
Attached is screenshot of temps with stock thermal paste after running Cinebench R15. The other 3 are temps with liquid metal after a single run of Firestrike. 8950HK was undervolted -100mV. Laptop was raised up with cooling pad but cooling pad's fan was off. Room temperature was 27c. I guess those hot cores are because I didn't change thermal pads and uneven heatsink pressure?Attached Files:
-
-
Terrible results to be honest and it seems that you could rectify the temps a bit by adding more LM paste but thats dangerous, too much can cause it to flow out between the CPU die and heatsink and alter causing a short. It also can in contact with aluminum within the laptop and degrading it. Fix the heatsink pressure first before attempting LM. This is a terrible idea to be honest.
-
I am not suggesting adding more liquid metal. I already tried adding before to reasonable extent. I have to order thermal pads and then check heatsink pressure while changing them.
BTW you have 1070 in 15 R3 and external 1070 in amplifier. How does the internal 1070 compare to 1070 in graphics amplifier while running the external monitor? -
They are equal in my experience. I had the evga 1070 ftw which was overclocked out of the box and boosted over 2000mhz. The alienware boosts up to 1800. With the extra cuda cores the laptop 1070 comes extremely close to my desktop 1070if i have to believe firestrike. I now ditched my 1070 because of the upcoming 20xx series of gpus. The laptop 1070 does the job just as good for me. The laptop gpu uses up to 140watt in my machine and the desktop card 152watt.c69k likes this.
-
@shashank066 Try with Gelids, they are working awesome for laptop low-pressure heat-sinks. Stock Dell pads combined with LM cause pump-out over time as they are very elastic and push back on heat-sink too much. Lots of Alienware owners after trying Gelids have awesome results. For example Fujipoly pads really need time and talent to work with @iunlock. I failed badly with hard pads.
Gelids worked really well also for video memory modules, which do not get as much hot as the rest of components. And memory modules are IMO the most difficult part during process of achieving good die vs heat-sink contact, as the area for pads to compress is too large. Pads over all other components get to shape much easier with pressure and heat.
See this picture of pads on my video memory.
EDITED: This section had 1mm DELL stock pads but they pushed heat-sink back (too thick=die contact problem). I used 1 mm Gelids and they went to 0.75 mm and stayed like that. With Gelids you get permanent imprints.
At the time I put pads on during assembly, there was no imprint, only after heated-up by load during first 24 hours. This means that the whole heat-sink went down over time and balanced itself, making it a bit forgiving if pads are too thick. Gelids and medium amount of liquid Metal plays well in my books.
For records, in demanding games I see max. 70C on CPU (absolutely no core differencials) and max. 60-70C on GPU, undervolted and no throttling.Attached Files:
Last edited: Aug 28, 2018Jedi2155, propeldragon, shashank066 and 3 others like this. -
-
Thanks, I was going to get arctic thermal pads for the same reason. I had read both Gelid and Arctic pads were squishy. Now I am inclined to order Gelid. Just had a question about which sizes to get. Can I just get the 1mm ones and use them everywhere or should I order all 0.5mm, 1mm and 1.5mm?c69k likes this.
-
You are welcome. I would order all 3 sorts of Gelids. I am not sure you will need the 1.5 mm but better have them by hand, and not stacking pads. If not needed you can always place them somewhere (I have put left-overs under my SSD).
Furthermore, only with Gelids I was able to get core temperatures even. @propeldragon also.
Maybe important: Dell stock processor pads are 0.1-0.2 mm (Alienware 13 r3) and I had huge core differencials. Since I put there Gelids 0.5 mm (without compressing them) within 24 hours of load differencials completely disappeared=heatsink went down. (from initially 12C extra on cores 0 and 2=pad temporarily too thick).Last edited: Aug 28, 2018Vasudev, iunlock, propeldragon and 1 other person like this. -
Thanks a lot, I will order Gelid for sure. Looks like I might be able to finally run this i9 at full load without any cores hitting thermal throttling.
How much power does the 7700HQ draws at max in hwinfo? It's the CPU package power max value in hwinfo after 100% cpu usage in OCCT.c69k likes this. -
In AIDA64 with only fpu and GPU (s) stress test selected (to reach maximum load and temperatures) I see 45 W max on the processor. This value also includes Integrated GPU wattage (7.7W). It is much lower in games, but with absolutely no throttling under 3400 Mhz on all cores. In OCCT I definitely get less max. Wattage usage for the processor, I believe it was around 28 Watts, pretty much similar to Throttlestop stress test. But, also the temperature was MUCH lower than with AIDA64.
Edit: I checked for you and HWinfo reports 38 Watts during OCCT. Temperature hang on 65 C for 5 minutes.Last edited: Aug 28, 2018Vasudev likes this. -
The max on my 7700HQ has been 50watts with Prime95. Temps are around 60~64C for CPU alone then. TS stresstest doesnt go higher than 34watts, max temp is 60c in that case. The temperature differences between load in my case arent big, its the fan noise that makes the differences, more fan noise in Prime 95 while temperatures are similar.c69k likes this.
-
@rinneh, wow, good and very surprising info, I just checked TS and get max draw 28 W and with Prime95 I get 47W. OCCT 38W.
I use TS to undervolt by -129.9 mV and use speedshift SST EPP at 64.
Do you have any idea why this happens? Especially the low power draw in Throttlestop benchmark? -
Prime95 stresses every aspect of the CPU while is just the more typical workload.
But you seem to have better silicon, mine is undervolted with -135mv and my power usage is higher.c69k likes this. -
@rinneh Thanx. Do you use TS or XTU to undervolt?
-
Ordered all 3. You have done dozens of systems. Did you ever damage anything by mistake?
You did mention that you repaste all your laptops with liquid metal. Do other brands also require changing thermal pads?
Also is bending the heatsink arm still required for new 15 R4?Last edited: Aug 30, 2018 -
TS, but to be honest, i dont notice much difference when undervolting. XTU didnt work well with the shutdown procedure of the graphcis amp when I still used it. It would lose its settings after each reboot. But I am unsure if in my case TS is actually doing anything. the temps arent really lower compared to stock, but if I undervolt too much I still have crashes.
-
I'd recommend LM if you're absolutely careful with laptops. Any jerks or mishandling can short out the mobo provided, you do foam dam like @Falkentyne.
Are you from India? I think at the max you can use 44x-45x as daily driver. Gelid,3M and arctic pads are soft and easy to handle/apply.Vistar Shook, c69k and Falkentyne like this. -
@rinneh Thanx. Can you please post your Hwmonitor values? My TS undervolt of -129.9mV on CPU, Cache, System Agent and iGPU are reported as -133.0mV in HWmonitor.
Any higher undervolt causes crashes as I use speedshift now. With speedstep I could go a bit higher undervolt till -135mV in TS.Attached Files:
Last edited: Aug 31, 2018 -
-
Yes, I am from India. Liquid metal hasn't been a problem until now. I have applied liquid metal about 5-6 times on Alienware.
Previously I had 7700hq, 7820hk on 15 R3. Now 8950hk on 15R4. I was lucky that I didn't need repad on 15 R3 and only Conductonaut. Now I learned my lesson to change thermal pads also (gelid).
On 2 occasions I got some liquid metal on motherboard due it coming out with pressure from syringe. Was some trouble to clean it from motherboard with Isopropyl alcohol and lint free paper. Now I take a drop of liquid metal on paper first like iunlock and then use that.
I am usually more worried about breaking some worn out part like ribbons or wifi card solders while disassembling and reassembling than liquid metal shorting. I could always make use of extra temperature drop of Conductonaut assuming I do it properly.Last edited: Sep 1, 2018 -
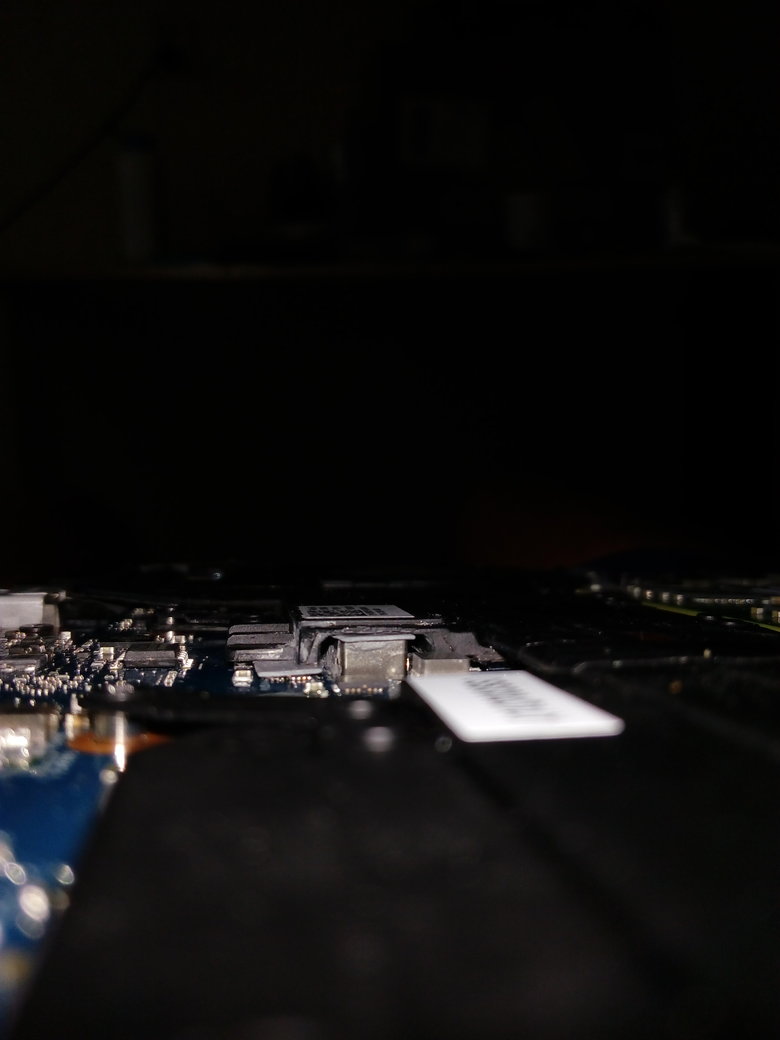
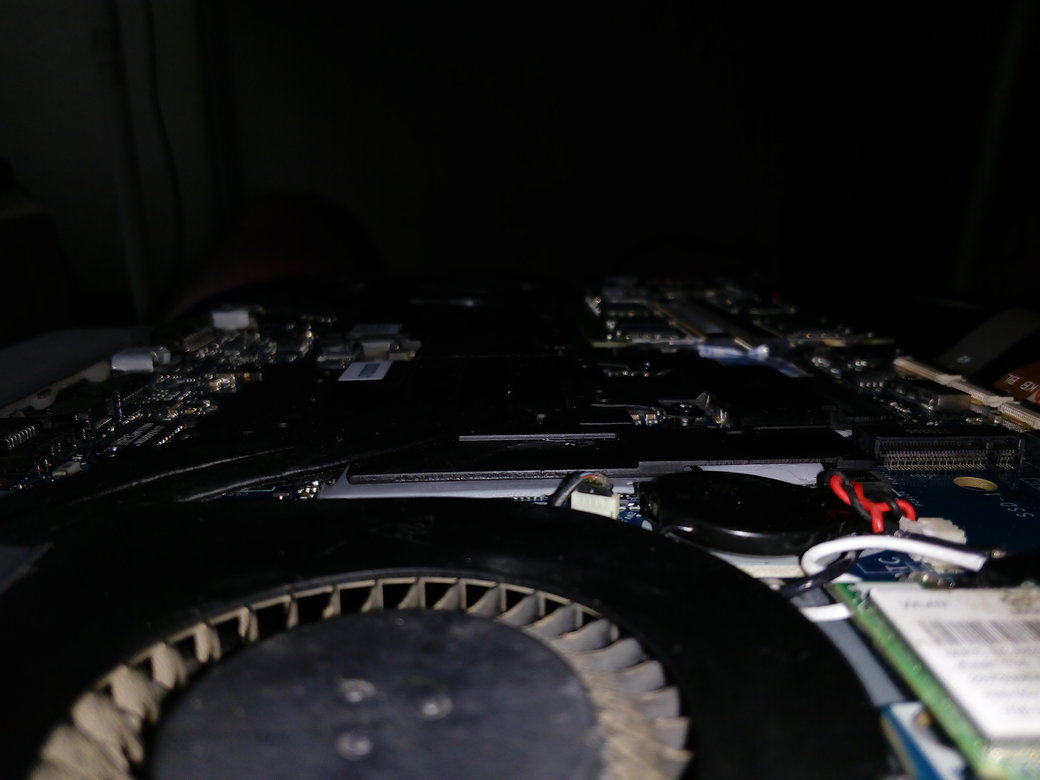
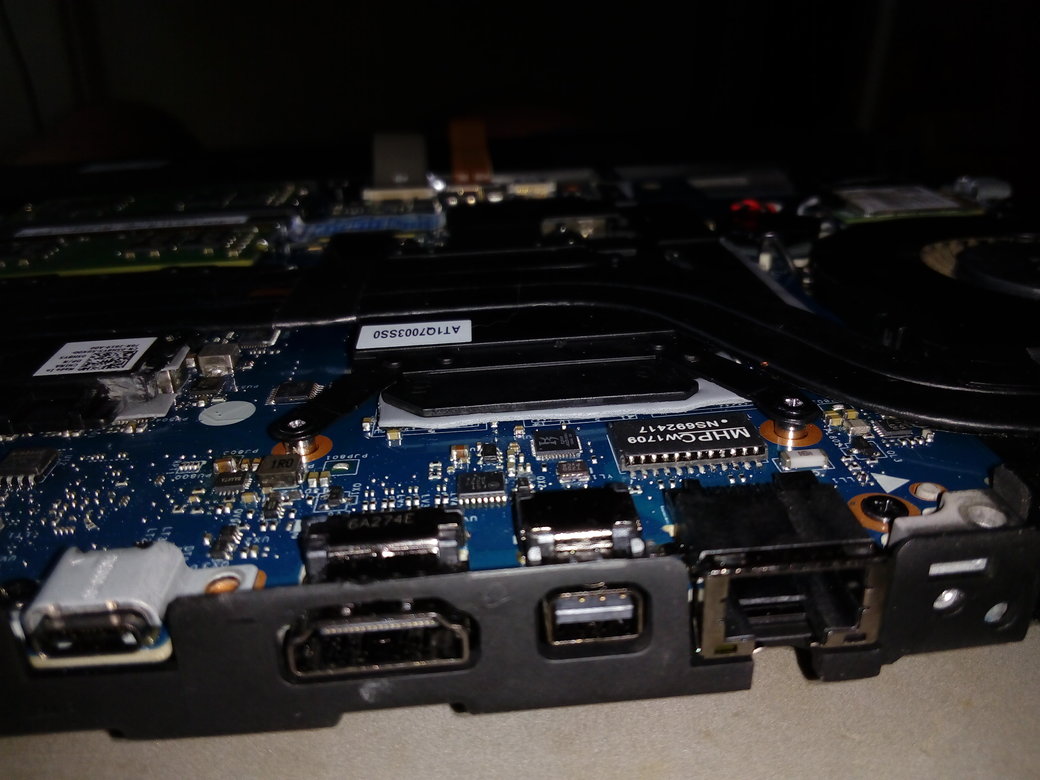
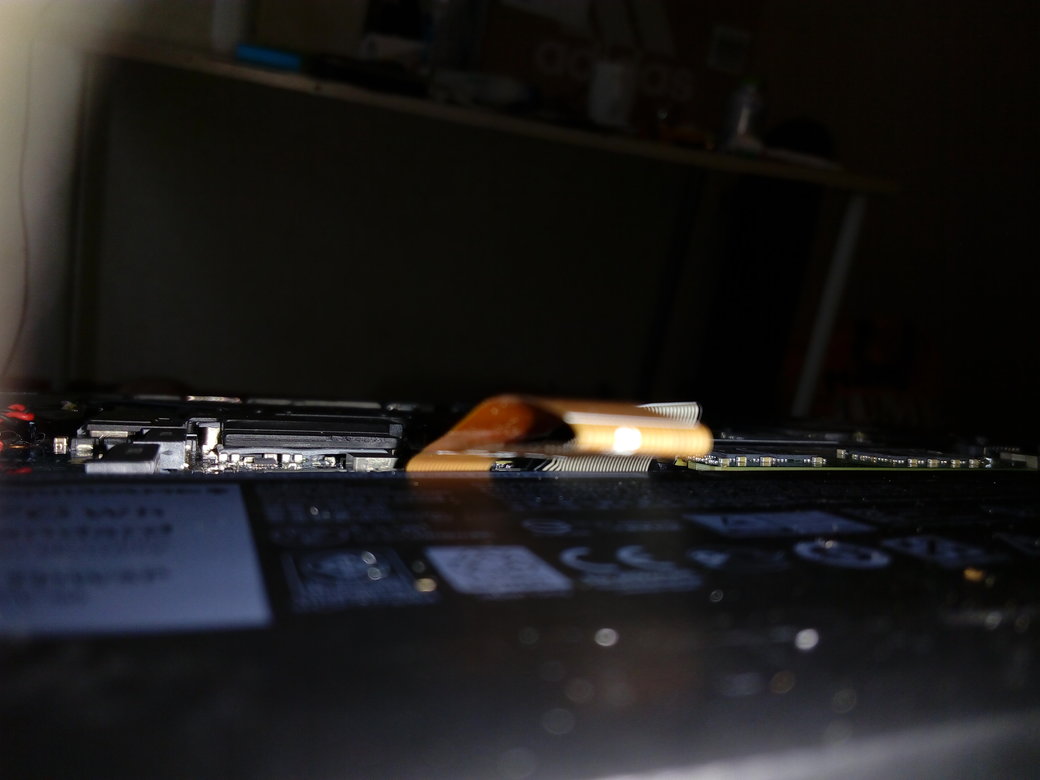
So I just took apart the heat sink, spent about an hour and a half just trying to remove a stripped screw. Attached are some photos. The CPU die seems almost dry where as the heat sink seems to have a good amount. A little bit had also escaped out onto the tape..
Let me know your thoughts!![[IMG]](images/storyImages/6415d9cc110139be29e30d218f51e052.jpg)
![[IMG]](images/storyImages/c472ddd86bc4d36845beab3405b7928e.jpg)
![[IMG]](images/storyImages/8f1212e67f17424d7d2f9faf04360246.jpg)
![[IMG]](images/storyImages/787a308074bfe8096521604e37c4cf82.jpg)
Sent from my SM-G925I using TapatalkVistar Shook likes this. -
I'm trying to repaste atm but when cleaning the CPU chip there seems to be residue LM, almost as if it's burnt on there.. Is this somewhat normal and does it all need to be removed (struggling to get it off) or can I just remove as much as possible and repaste over it?
Cheers!!![[IMG]](images/storyImages/77bdc2dbb3270f5ca0f6edadd3b3bfac.jpg)
Sent from my SM-G925I using Tapatalk -
Thank you for the pictures.
The pattern of the first picture shows clearly that there is a bad pressure problem closest to the VRMs (topside). Since there is less paste residue at the bottom than the top, what clearly happened was the paste 'collected' towards the top and dried out, since the higher pressure at the bottom moved the paste away. The gallium then oxidized and hardened and got absorbed into the heatsink (the galium is what keeps liquid metal liquid at room temperature!) leaving the tin and indium left and hardened.
What I use for cleaning LM residue like that is 3000 grit sandpaper. Comes up fast with that. If you don't have any, just use very high purity alcohol and just wipe it off the CPU until it is fully off.
The heatsink is going to be harder without 3000 grit sandpaper. Most likely you're going to have alot of hardened mess on there. You just need to keep wiping vigorously with alcohol and paper until all of the hardened stuff is completely gone. You want the heatsink to be smooth. Keeping the stain is important as that's absorbed gallium, which will help reduce the speed of the "battery effect" next time if you keep the silver stain. But you have to make sure that the heatsink is fully smooth when removing the old stuff, as rough spots act like an uneven heatsink and will cause very bad core temp variations.
Once you get the heatsink fully smooth, then you need to deal with the pressure problem at the top of the CPU by the CPU VRMs/chokes. That's going to take a lot of work. IC (Innovation cooling) pressure paper would go wonders for telling you about the pressure when reducing the thermal pad thickness. But clearly you are going to have to reduce the pad thickness on the CPU topside so there is better contact with that tripod heatsink also (bending the tripod arms slightly won't help much if the pads are too thick).
If you can get this shipped quickly, you can use this:
https://www.amazon.com/Innovation-Cooling-Contact-Analysis-Heatsink/dp/B07CKHRKHQ/
Otherwise you're going to have to do dry runs with basic thermal paste, applying a tiny dot in the very center of the CPU, applying the heatsink, screwing down then unscrewing and checking the spread pattern. If the paste collects more on one side than another side then there is less pressure on that side obviously.
I don't know how many cutouts for runs you can get on the pressure paper so that's something that has to be done accurately.
Once you get even pressure, then you can reapply the LM again.
Don't forget my suggestion of using EXTREMELY THIN (you will have to trim them down yourself) but highly compressible foam dams as an extra insurance barrier. It's VERY important to have the foam 'trimmed' as thin as possible (this requires a good pair of scissors) after making the first square cutout and then the BGA cutout for the CPU to go around. The foam *MUST* be very very compressible (like some types of window foam or other sound insulating foam or some stuff used for packing material), the stuff that has a "mesh" type of air pocket format so when you press it with your fingers, it compresses down to nothing.
If you can then surgically 'trim' the foam down to 0.3mm (VERY thin) without breaking it, you now have a barrier that will stop LM from ever getting on the motherboard, while not interfering with heatsink pressure in the slightest. Finding the foam is easy (ace hardware has foam like this). Trimming them down to less than 0.5mm is the hard part.Vistar Shook and c69k like this. -
Thanks yet again for another quick and super detailed response!
I have 3000 grit sandpaper which I'm using on the heatsink with ArctiClean but it is taking a long time to get perfectly smooth. As for the CPU chip I can't seem to get the hardened LM off - I'm assuming I can't use 3000 grit on the chip so I'm just applying ArctiClean and wiping with lint free cloth (maybe ArctiClean isn't high enough alcohol %..)
I couldn't source any pressure paper so will be using paste to gauge pressure and then replacing pads around the CPU with softer Arctic ones.
Thanks so much!Vistar Shook and Falkentyne like this.
[Alienware 17R4 / 15R3] - Disassembly + Repaste Guide + Results
Discussion in '2015+ Alienware 13 / 15 / 17' started by iunlock, Oct 22, 2016.