I'm expecting 30k with a shunt mod + OC
-
-
Well, the screen fell off today again while gaming, Happened twice in a single week. as mentioned in my earlier post.

If anyone's wondering, The adhesive is only at the top and the bottom, the ones at the sides are way too thin and won't even stick. Disappointing. -
Holy crap! That is a total fail! Hope they fix this quick and give you some sort of compensation.
-
Wow that sucks,did it just happen?I'm definitely keeping mine more tilted back now ..Its messed up for how much this model costs that they's do something this cheap..I guess there always gotta be one infamous defect,we went from broken hinges to whole panels falling off.
-
I'm scared to do it myself but im talking this guy at a lock repair shop into doing it for me.Haha he had no idea what it was but he said he's good at soldering so ill just guide him along i guess..I got a 1440p monitor now so I can deff use the performance increase.
And that 2070 turned into a beast man I love seeing the increases each time.That firestrike is just a little below the 2080Smq.werdmonkey4321 likes this. -
Hi,
I'm thinking about returning my Legion 7i with 10750H and rtx2080S that I got from Costco and replace it with the GE66-288 with the similar specs. My legion GPU is super cool (below 65C) but the CPU is getting throttled all the time at 99C, even undervolt -.1 it still gets up to 95C.
I was wondering if MSI uses different pastes on different configurations since I figured the 10875H or i9 would run much hotter than the 10750H. -
Your CPU on the Legion shouldn't be that high unless you ran it at full speed during benchmarks. The performance difference wouldn't change between the 2 since the paste in both are pretty average. You will want to repaste the CPU, GPU and maybe the thermal pads. I know I did that for my GS66.seanwee likes this.
-
I got the same model GE66 and i'd do it if I was you.The 10750h will still hold 4.3ghz all cores and as long as you undervolt it and drop the ratios to 43 you'll never throttle.And you can really push the 2080SMQ as well.It will still boost up to 105w.
https://www.3dmark.com/spy/14412227 -
Just confirmed that nividia did disable adjusting core voltage in the newer drivers for the 2080 super max q atleast..I rolled back to 456.02 and I can adjust it again and it actually takes effect.
-
hey guys anyone have the 300mhz screen? I have the Best Buy version that has the 240. I also have a MSI GT63VR 15' with a 144hz screen and it is noticeably brighter. is the 300mhz version brighter?
Last edited: Oct 29, 2020 -
Hey guys. Has anyone already shunt modded their GE66 yet? If so, could you kindly show me where the shunt resistors are located. Thanks.
-
Not that I know of. I can help you locate it if you can send me pcb shots though.
Look for R005 resistors on the motherboard and take pics of that.
You can join the msi discord here, it's easier to discuss it there. https://discord.gg/ARYX6Udgabozki likes this. -
I've tried looking for it but so far I could only find one near the battery connector. Tried to check the flipside of the board but there weren't any R005 resistors that I could see. Hope these pictures help. TIA.
Front of the board:
![[IMG]](images/storyImages/WpGBLQz.jpg)
Board flipside:
![[IMG]](images/storyImages/HJgAaP7.jpg)
A closer look on the R005 resistor near the battery connector:
![[IMG]](images/storyImages/jdfesit.jpg)
Back of the board near battery connector:
![[IMG]](images/storyImages/7yUxZaZ.jpg)
-
-
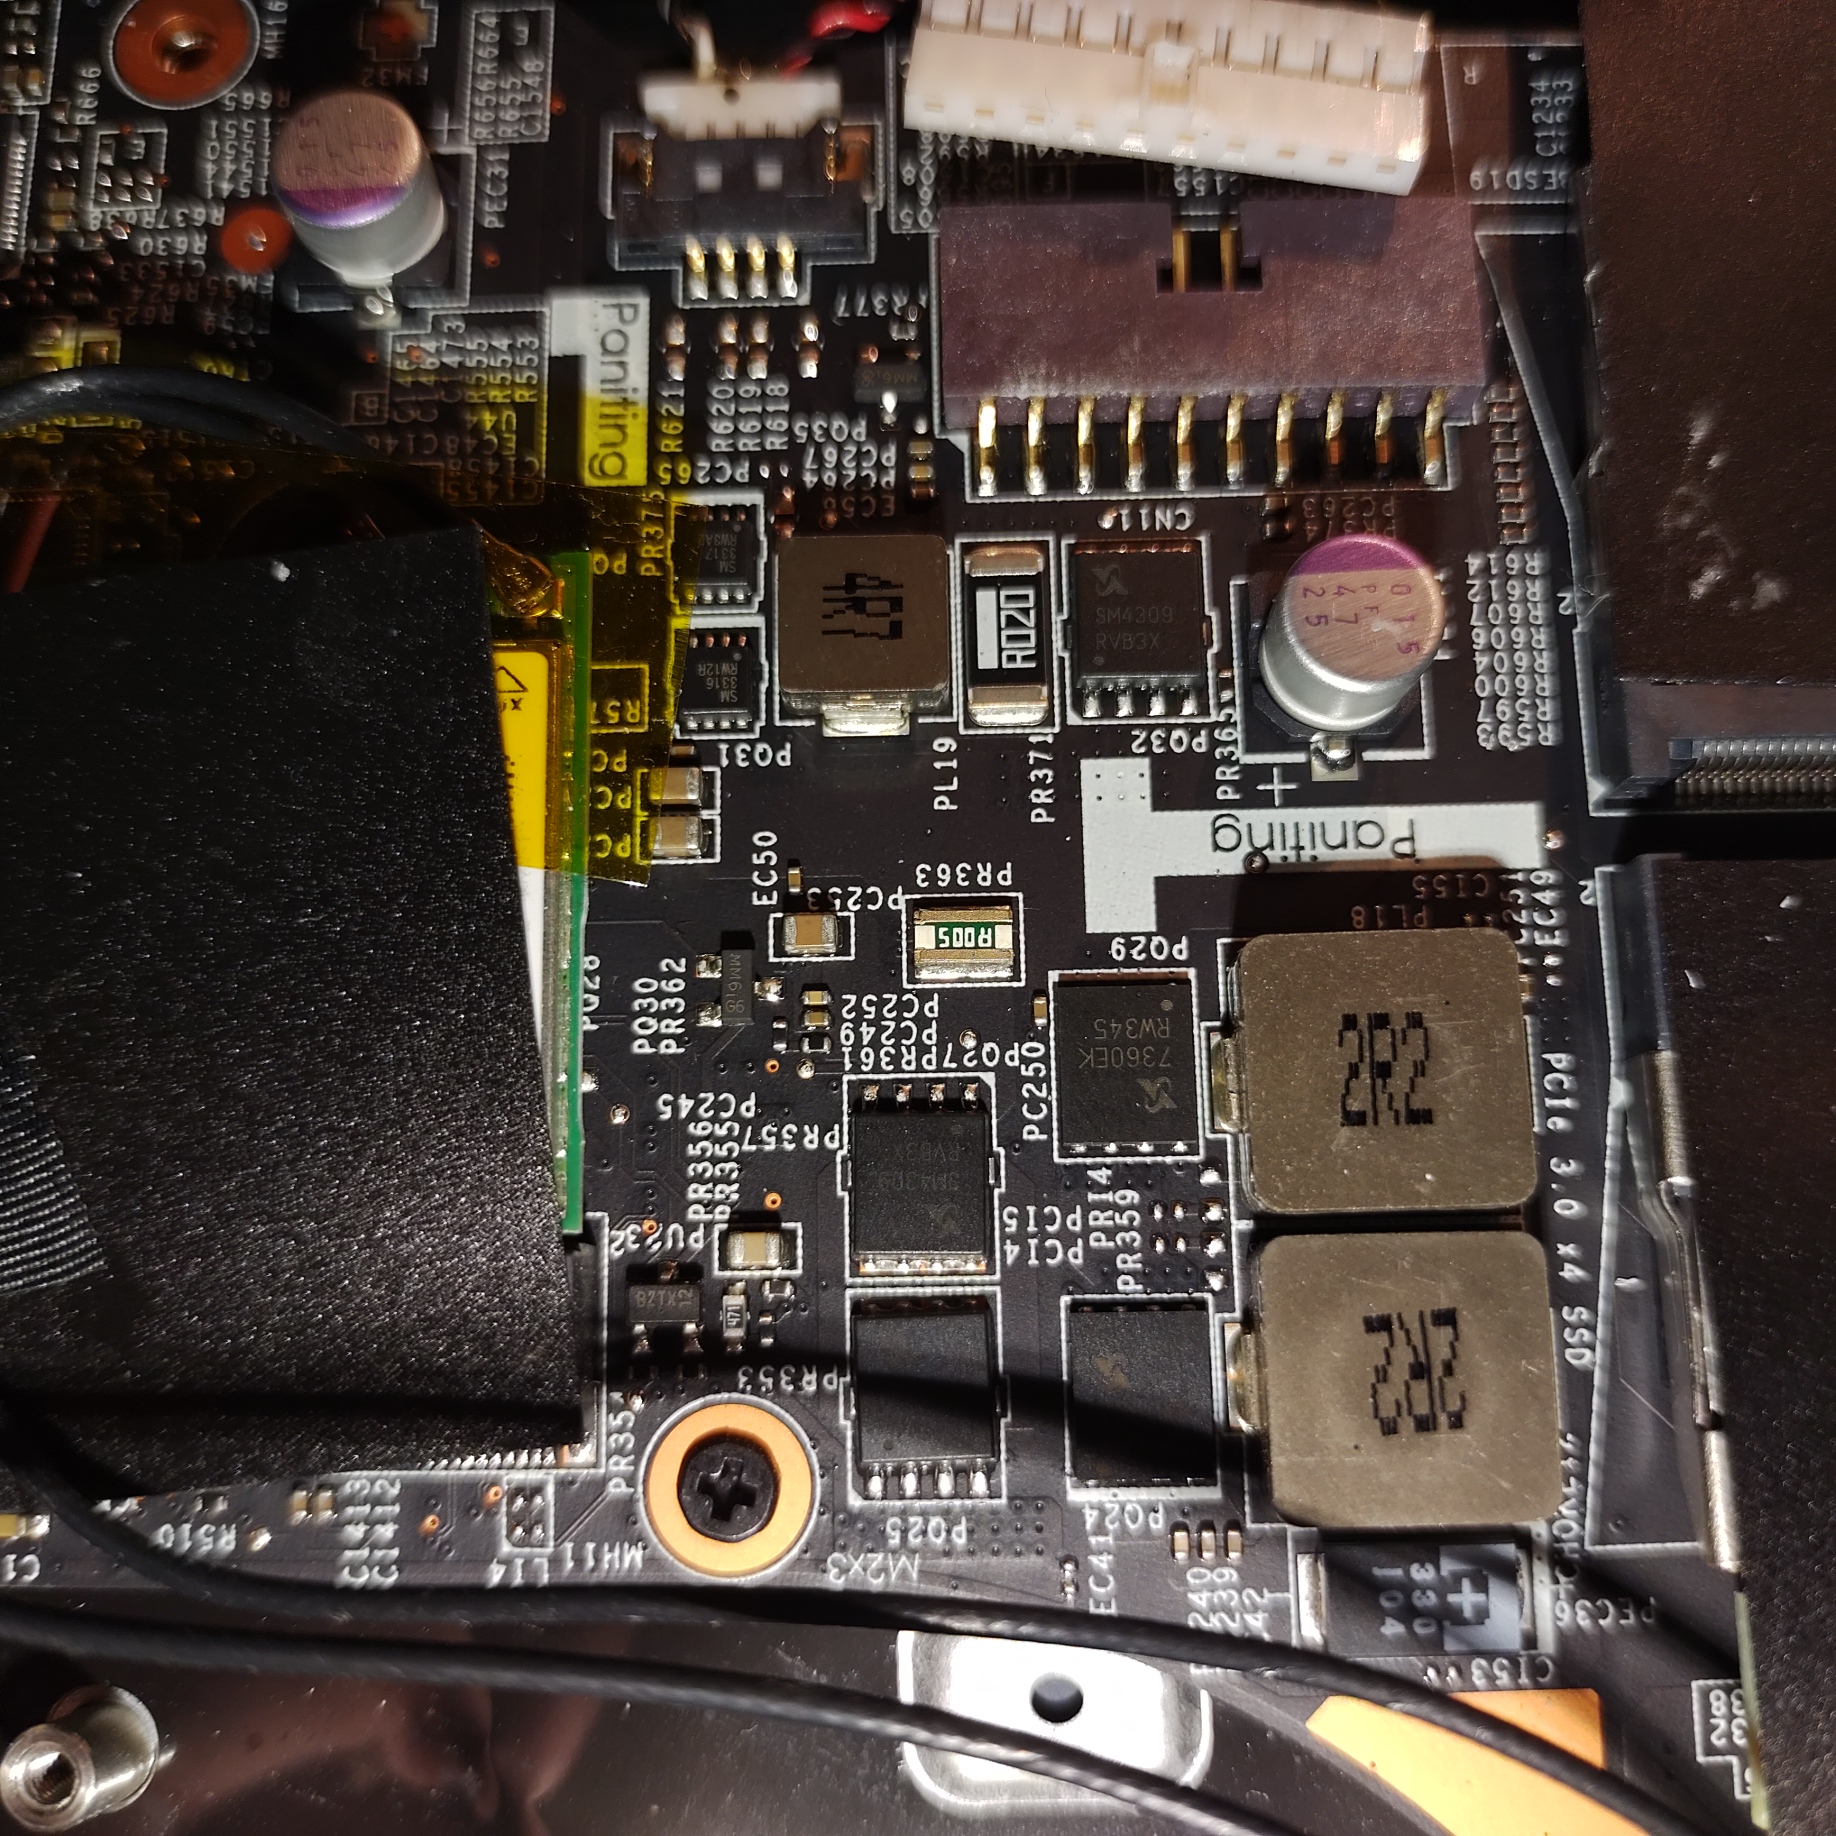
@seanwee here's a closer look.
![[IMG]](images/storyImages/L01NBms.jpg)
-
Interesting that the shunt resistors are not labelled anymore.
The traces indicate its connected a large power and ground plane though so I'm pretty sure those are the correct ones. That and they are the right size and have the same contacts as a shunt resistor. -
Thanks for confirming it, I'll try to do it when I get back home which would be in a couple of months or so. I'll try and keep you posted.
P.S. If I want to increase my TDP from 115W to 150W, what resistor value should I use? Would it be better to just solder it on top of the existing shunt or replace the actual shunt resistor itself? TIA -
Better to replace the resistor and keep the originals just in case you need to rma it. That way you can leave very little trace.
Assuming its a 0.005 ohm shunt resistor, swapping to a 0.004 ohm resistor will give you a 25% increase to 143.75w. With dynamic boost you'll get 150+w easy.gabozki likes this. -
Got it. Thanks again.
-
I’ll wait for your shunt mod guide and results ✌
-
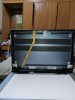
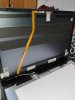
I'm a little confused so the shunts are on the underside of the GE66 motherboard?Just want to confirm that it isn't one of these first before I take it all apart.
Attached Files:
-
-
Those are not the correct shunts
-
The shunts should be on the keyboard side of the motherboard meaning you gotta take it out and flip it. Only reason why I didn't do it for my ge66 as it's such a hassle. lol.
-
Thanks....Couldn't be that easy haha.
Presenting the All-New Intel 10th Gen MSI "GE66"!
Discussion in 'MSI' started by -=$tR|k3r=-, Apr 2, 2020.